


This post may contain affiliate links. If you use these links to buy something we earn a commission at no extra cost to you. Powerful Mothering is supported by its audience, thankyou!
Need to make a custom and quick DIY cookie cutter? Here’s how.
I can totally see some lovely custom designs coming from this method! Panda cookies, ones shaped like a fish, hearts for valentines day and maybe even a bunny for easter.

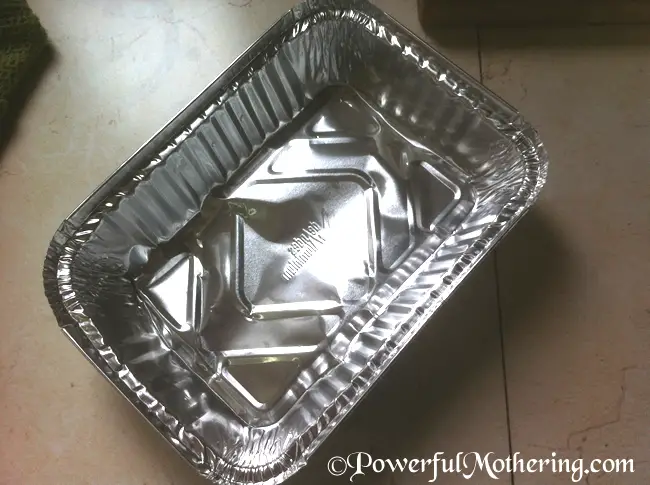
Start by using a foil dish, those that you can use to freeze things, either new or just washed out after you have eaten your food.
Cut the sides off leaving the bottom.
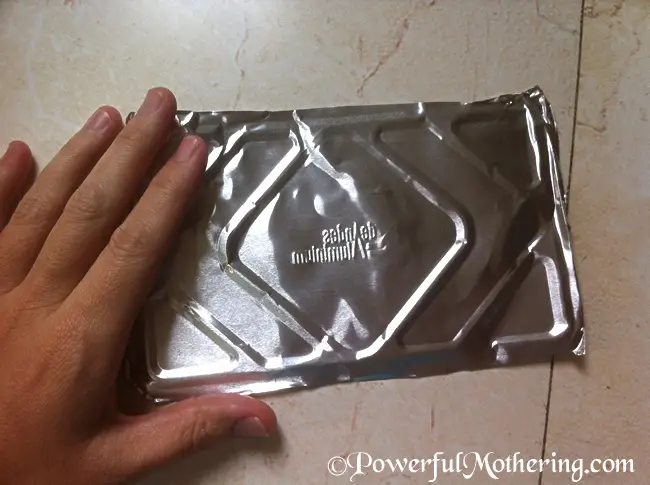
Fold into three, using the middle as center and folding the outer edges into the middle to create a sleeve.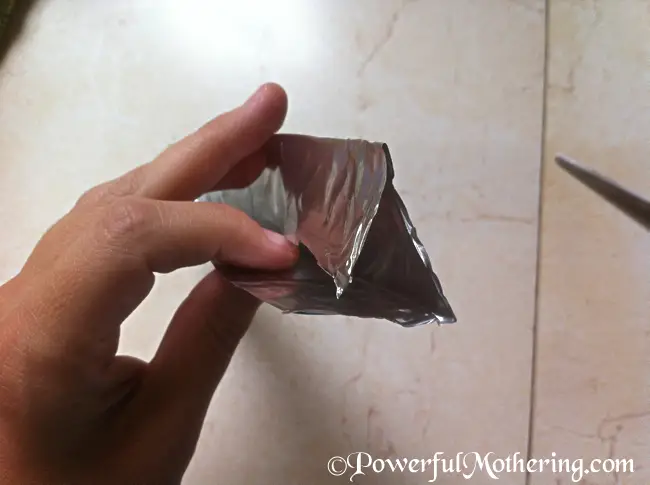
Slip the ends into one another as a join, you now have a circle.
Use a flat nose pliers to shape your DIY cookie cutter.
I used my hands for this simple heart.
Place your foil circle on top of your image printed or drawn out on paper and shape with the pliers for more complex designs.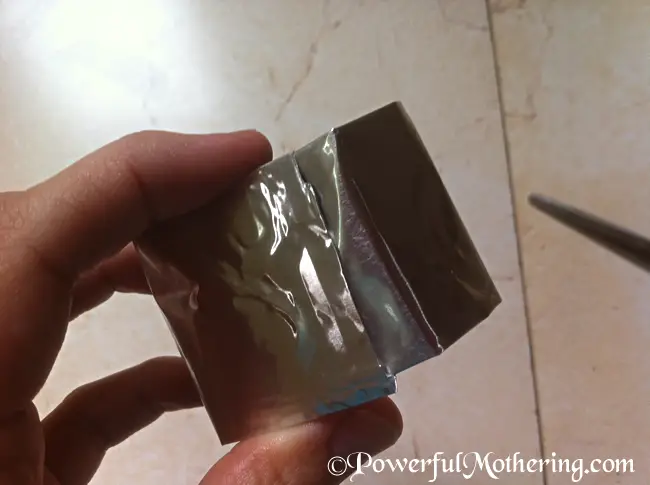
I made a heart shaped cookie cutter to use on the Red Velvet Brownies I made for my birthday. They came out thick and sticky, and the DIY Cookie Cutter worked on them. Who would have thought! Making a DIY cookie cutter, next time I am going to try something more complex.


Rachee says
So simple yet so wonderful!
Those plastic cookie cutters don’t stand a chance in my house. This…This is it!
Leigh [email protected] says
Such a clever idea. There have definitely been a few times I could have used this idea. Will pin it away for the future!
Thanks so much for linking up over at Finding the Pretty & Delicious Linky Party. Hope you’ll be back this Saturday again! Leigh Anne
Leslie says
What a fantastic idea! I am going to keep this in mind.
Thank you for linking up to Raising Imperfection!
Make sure to check back on Friday to see if you were featured.
Leslie
Lanaya @ Raising Reagan says
What a smart idea ~~ I’ve always used those for paint in the past … now they have more than one use!
Thank you for linking to Raising Imperfection.
Please come back Friday to see if you were featured. 🙂
¤´¨)
¸.•*´
(¸¤ Lanaya | xoxo
http://www.raising-reagan.com
Mariel says
What a great little tutorial! I would love for you to share this or any of your great ideas at the link party going on now (and every Saturday through Tuesday) at ‘Or so she says …’ Hope to see you there! http://www.oneshetwoshe.com
Crystal says
That is such an awesome idea! Thanks for sharing the tip!
Terrye says
What a fabulously brilliant idea! I found you via the Share Something Saturday blog hop and so glad I did!
Corinna says
I could have used this idea yesterday…at least I know for next time!
Alexa (katbiggie) says
So simple, and yet I would have NEVER thought of this! And I was all bummed that I didn’t make heart shaped cookies for Valentine’s! I have pinned this and voted for you at TMB!
Nicolette Roux says
thanks! off to go read about potty training tips and return the vote 😉
Amy {Consider Me Inspired} says
Yeah, that is pretty great. I love that. I would possibly have to stick with the heart…my daughter would insist. I really like that and I would have never thought to use the foil pans. Pretty great because I would think they would be nice and durable once cut and folded. Thanks for linking up with us at Inspiration in Progress.
Lindsay @Artsy-Fartsy Mama says
I can think of so many designs to make. Thanks for the tutorial. Thanks for sharing at Artsy Corner 🙂
Nicolette Roux says
Thanks! Your wax paper lantern looks awesome!
Kim~madeinaday says
How clever are you? It never occurred to me to make my own cookie cutters! Love it! Thanks for linking up last week at Made in a Day!
Kim
Carrie from Carrie This Home says
This is perfect for those times when I can’t find the right cookie cutter. Thanks for linking this up to Frugal Crafty Home Blog Hop!
Jennie says
What a great idea
Heather {Dietetic Sinners} says
I really could have used this tip a week ago. I couldn’t find a cookie cutter shape at the store and ordering online was not an option so I gave up on that project. Now it’s on again! Thanks!
Nicolette Roux says
That sounds like a very cool project! Cant wait to see it 🙂
self sagacity says
Certainly a great idea and one that is good enough for those days when you rather just stay home.
Jessica @ A Humble Creation says
What a great idea and so much more affordable than store-bought cutters! Thanks for sharing this project at A New Creation!
Katherines Corner says
you are so clever!!! Sorry I’m late getting here…thank you for adding your wonderful blog to the Thursday Favorite Things hop. xo
Angie says
WOW – that is so cool! Thanks for linking up to my blog hop!
Angie
godsgrowinggarden.com
Seaweed & Raine says
Ha! That’s kinda cool. (Although, I think if I started trying to do that, my hubby would have to pull out the welder and “do it properly”… I might have to give it a go while he’s at work! 😉 tee hee hee).
Victoria from the Busy House Big Heart says
Right on! I have no cookie cutters at all, this is one way to make them completely unique and customizable.
ropcorn says
What a great tip on how to make custom shapes! I have never seen that before. Love it! Thank you for sharing.
Found you through Thursday Favorite Things Blog Hop by the way. 🙂
DeDe@ Designed Decor says
This is a great idea! You could than make it to the exct size you need!
Deirdre says
Wow- I’ve tried regular tin foil, but this is better. Thanks for sharing 🙂
Nicolette Roux says
It is alot stiffer than normal foil, which is fab!
Cindy Swanson says
Wow, I could have used this idea last night when I was searching all over Target for a heart-shaped cookie cutter (I finally found one!)
I enjoyed visiting your blog…stop by and say hi sometime!
Cindy at Notes in the Key of Life