This post may contain affiliate links. If you use these links to buy something we earn a commission at no extra cost to you. Powerful Mothering is supported by its audience, thankyou!
Does your toddler or preschooler love to use your pens or markers? Mine do! That is typically how I know it is time to start purposefully putting a pen in their hand.
I don’t put the pen in their hands, at first, expecting them to write paragraphs, or even letters. It’s more about getting used to how to hold a pen and how to use their hand and finger muscles to basically command the pen to write something. It is crucial for children’s hands to get used to holding a pencil and how to write in general before expecting them to write letters and sentences.
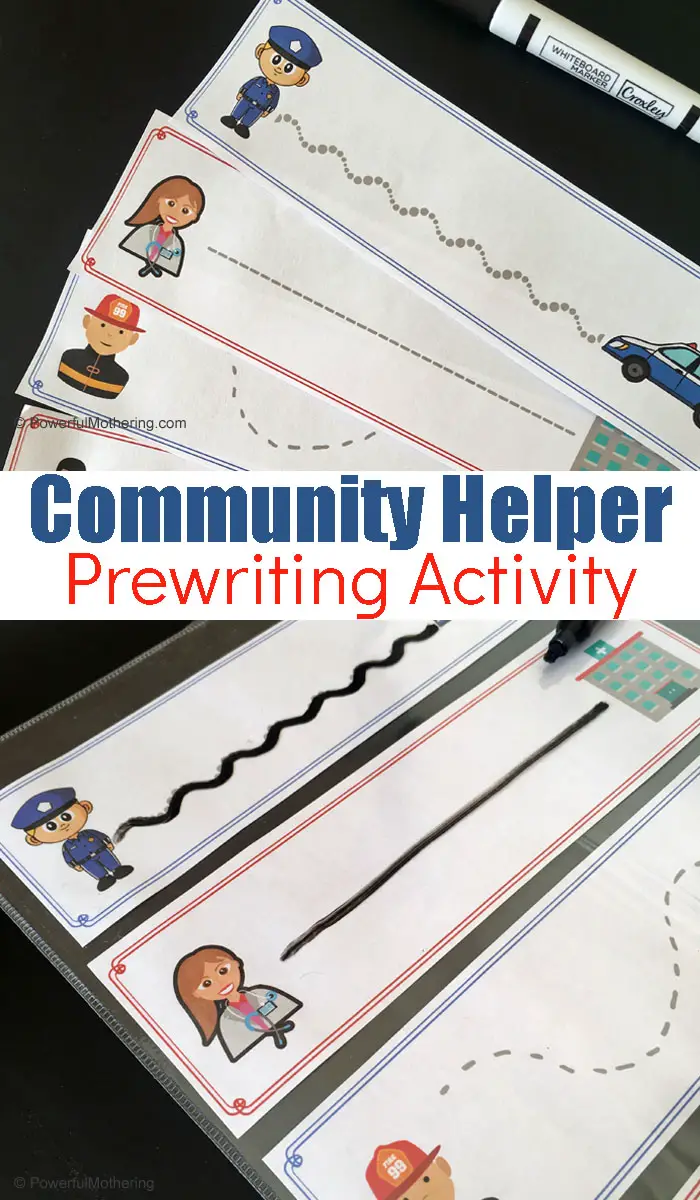
Prewriting Community Helper Activity
Prewriting is such a fantastic way to help young children begin the writing process and is beneficial in many ways.
There are certain factors that are needed in order for the fine motor skills required for writing to be purposeful. A child needs a strong core, strong shoulder muscles, and strong fingers.
Activities such as this Community Helpers Prewriting Activity can help with those as well as more.
This activity can promote strength in finger muscles, which is crucial for grasping and holding the writing utensil.
It will also strengthen finger manipulation skills, which is important for moving across a page and being able to pick up and put down the pencil for certain letters.
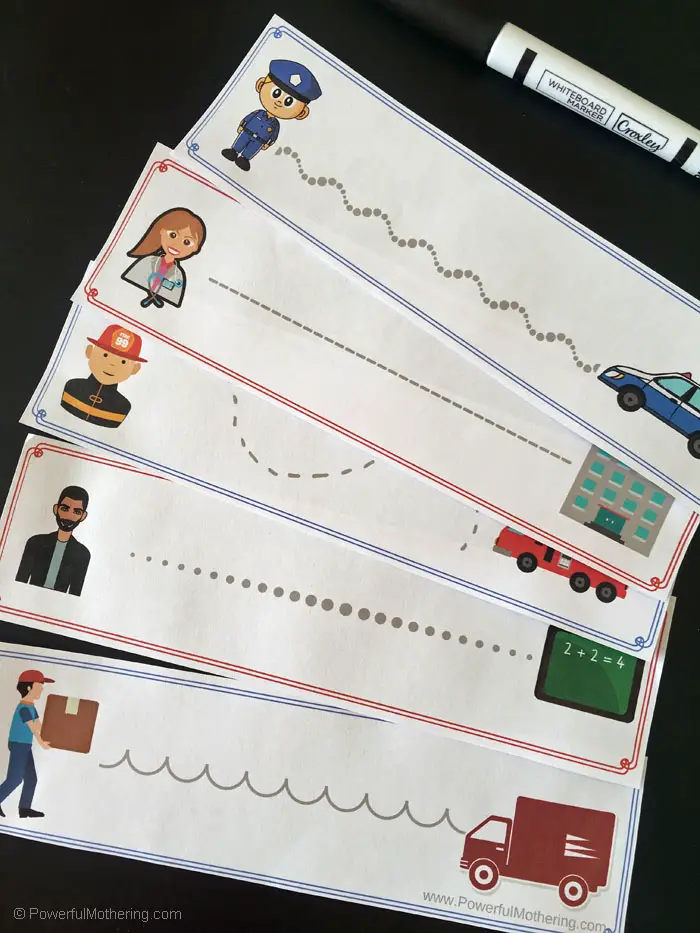
Activities such as this will help with the concept of writing from left to right as well as bilateral dexterity which is necessary for holding the paper and writing at the same time.
This activity is so beneficial, as you can see, but is also FUN. It is fun for you because it is simple to prep and it is fun for kids because each card is a different challenge!
Teaching about Careers? This Touch and Feel box is an excellent idea!
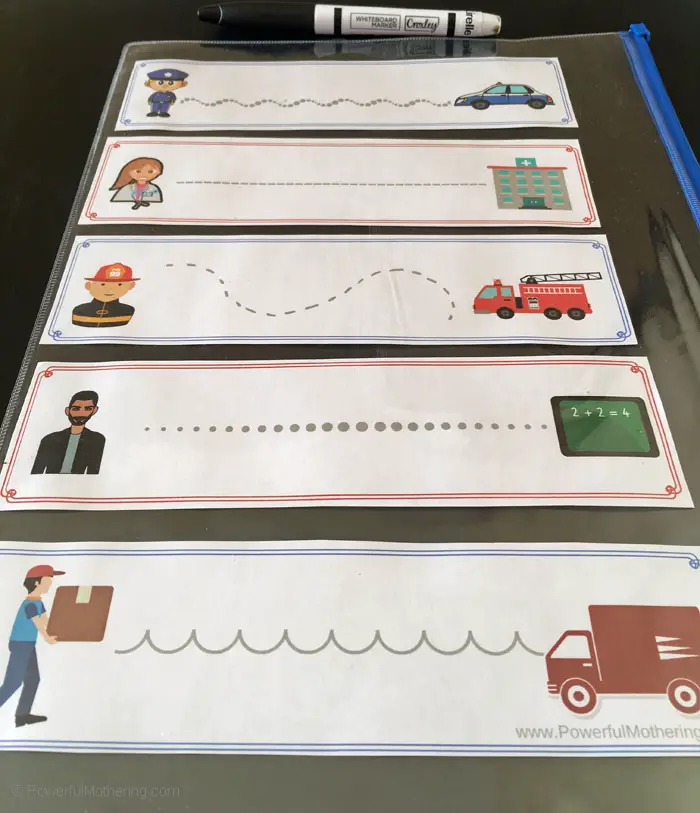
To prep this activity, I would suggest having a few supplies.
Dry Erase Pockets
Paper
Printer
Dry Erase Marker
You can also laminate instead of using the dry erase pocket, it is completely up to you.
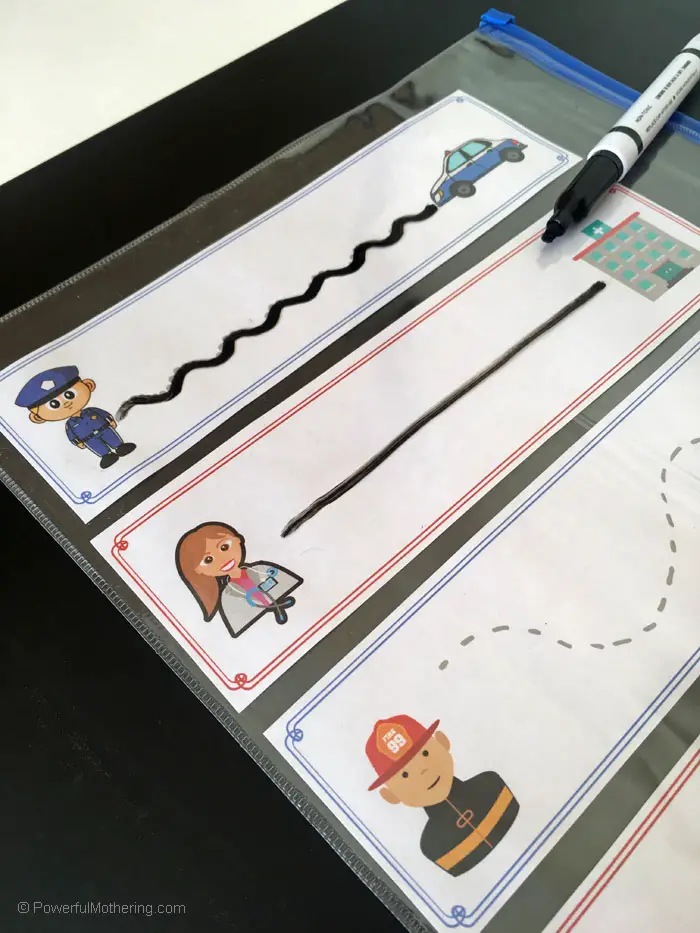
The first thing you will need to do for this activity was print out the free printables. You can grab these at the end of the post. Once they are printed, cut each strip out. At this point you can laminate them or place them in dry erase pockets.
Grab a dry erase marker and show your child the path on the first strip.
You can ask them to identify what the beginning object and ending object are and then have them trace the path.
Each strip has a different community helper and their tool.
Also try this community hat matching game!
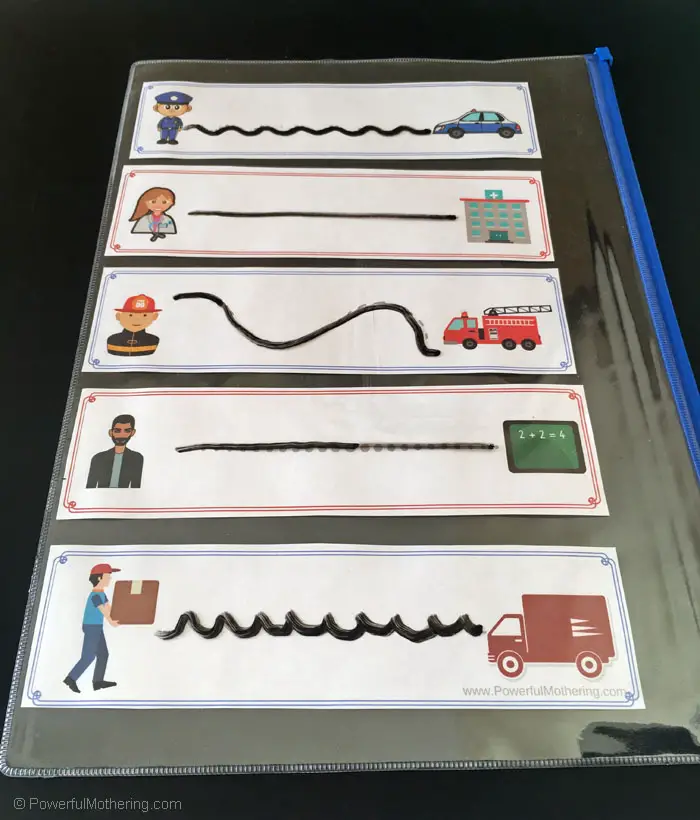
Your kids will never know that they are strengthening such crucial skills. They will appear to just be having so much fun!
Ready for more idea? Check out these 20+ Free Preschool Tracing Worksheets.





Leave a Reply