Ice Painting Art for Toddlers and Preschoolers
I had a lovely idea to do ice painting this week since we haven’t really done much in the art department lately, and I like for my kids to have a well-rounded week full of activities.
Heads up: this post may include affiliate links. If you make a purchase, I may earn a small commission at no extra cost to you. Learn more in my disclosure.
Be sure to read more about our mitten experiment too – even more learning fun with ice.
Gather Your Supplies
First, you need to make the ice blocks so that you can get to ice painting with them. Here’s what you’ll need:
- An ice tray
- 1 tablespoon flour
- Food coloring
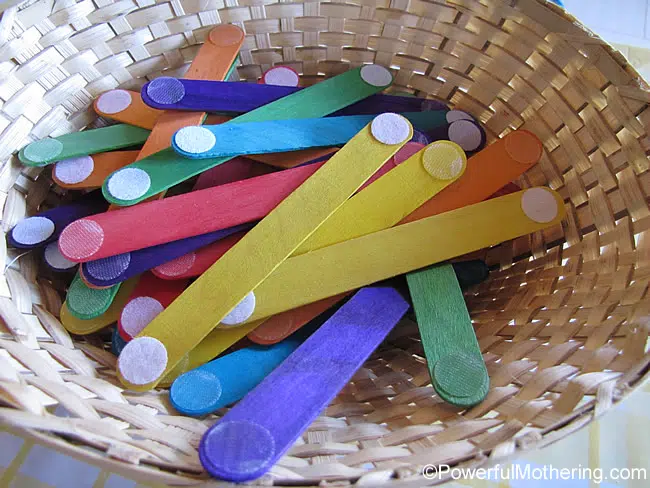
- Popsicle sticks (craft sticks)
- Paper
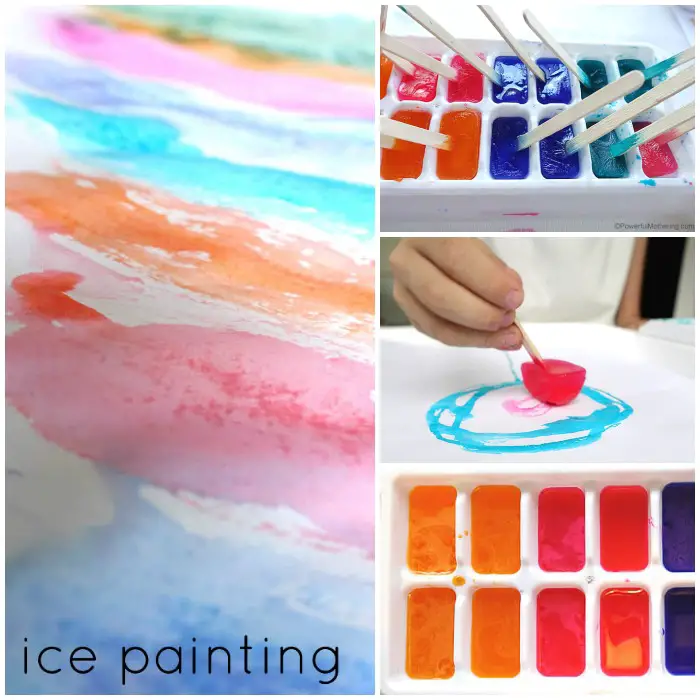
Prepping Your Ice Painting Cubes
First, fill your ice tray with water and then empty the water into a bowl. This allows you to have the correct amount of water for your tray.
Whisk the flour into the water so that the ice has a less watery consistency. Then, pour the flour-water mixture four blocks at a time into the ice tray. When finished, add any remaining mixture to another bowl.
Repeat this process four times with four different bowls and four different colors. Add your food coloring to each bowl. I use about four drops of color per bowl to make our ice painting mixture.
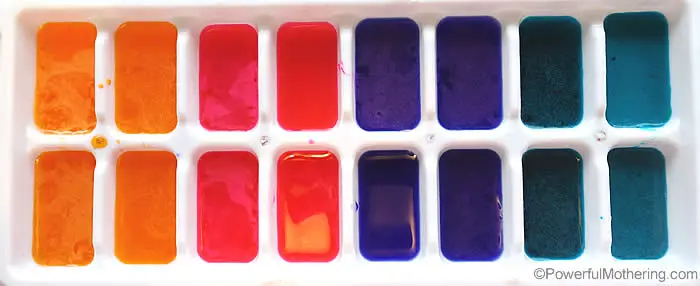
Next, you’re going to pour the colorful flour water into the ice mold so that you have four ice blocks of each color.
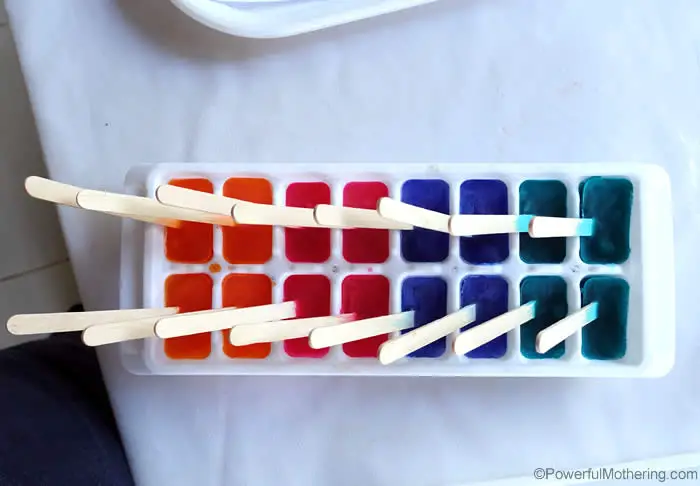
Put your popsicle sticks into the color water. I personally put the ice tray in the deep freezer first before adding the sticks so that I can balance the popsicle sticks without them getting all over the place when I move the tray.
I made the ice painting cubes in the morning and they were ready by afternoon to play with. This time may vary based on your personal freezer settings.
TIPS for Ice Painting
- Twist the ice tray to loosen the ice blocks to make it easier to remove them for painting.
- Take the color ice out of the freezer five minutes before the activity so that it can melt a bit before use.
- Use a tray for your paper to minimize any mess.
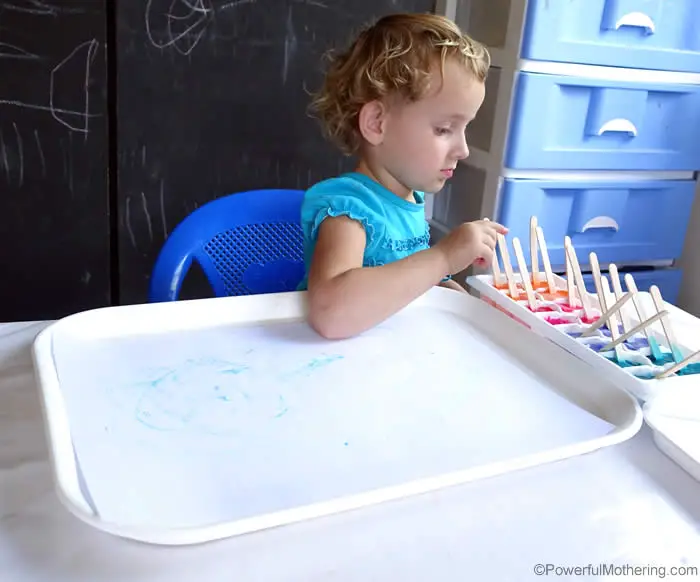
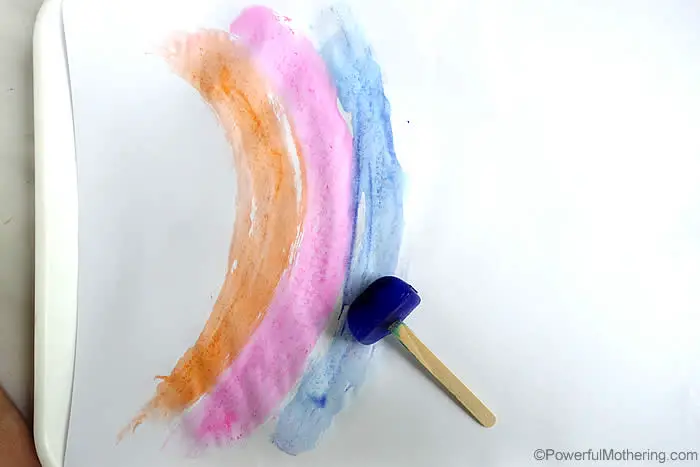
The Children Love Painting With Ice
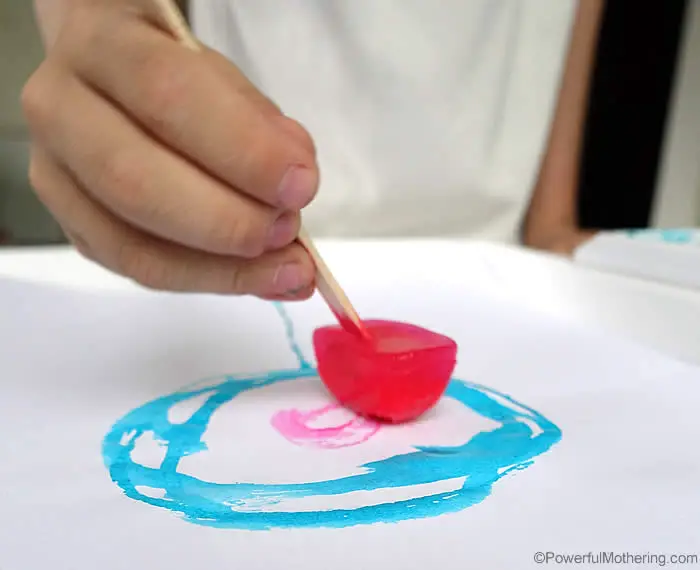
Let the fun begin! This is a great “let the kids do their thing” activity. I love to sit back and see what creations they come up with.
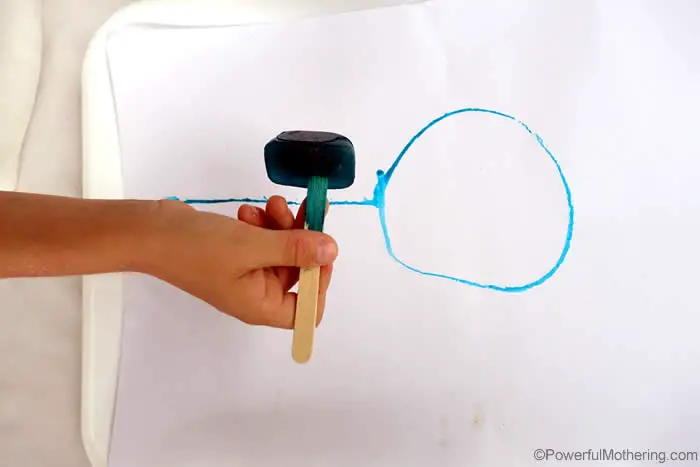
The kids like to go around and around, testing the ice painting colors to see how it makes markings.
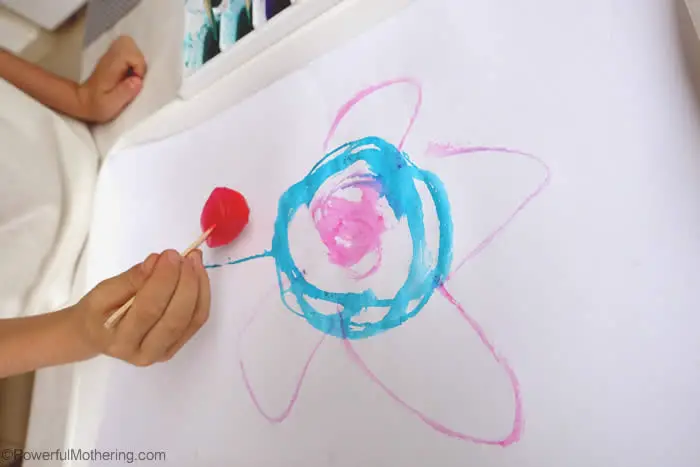
My sweet older preschooler loves to draw me flowers so this was his first creation.
The ice holds up for a while too! We have currently done this activity three times already with the SAME ice cube paint!!
When done, just pop them back into the freezer.

I would love to try make the colors of the rainbow for our next ice painting activity. I think it would look gorgeous.
Extra learning ideas: These ice painting blocks would also be great for writing form letters or numbers. You could also do shapes in various colors. The possibilities for learning are endless!

Additional Ice Painting Activities
Try these fun ICE painting themed activities from the Early Childhood Education Team:
What Makes Ice Melt Faster? by The Educators’ Spin On It
Ice Slide Segmenting Activity by Growing Book by Book
Ice Alphabet Letters by Still Playing School
Name Ice Melting Science and Art Experiment by Fun-A-Day
Slippery Ice Customizable Name Game by Life Over C’s
Sight Word Ice Excavation by Fun Learning for Kids
Magic Sticky Ice-Simple Temperature Experiment by Capri + 3