This post may contain affiliate links. If you use these links to buy something we earn a commission at no extra cost to you. Powerful Mothering is supported by its audience, thankyou!
Welcome to the last day of our 10 days of writing and spelling your name! Find all the other days right here.
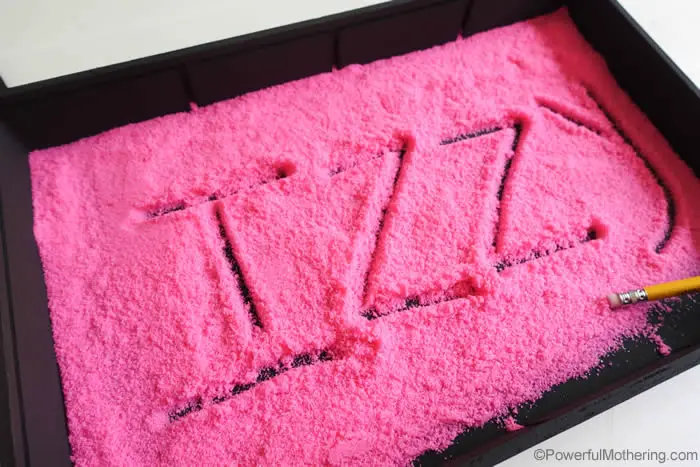
Today I have a salt tray with beautiful vibrantly colored salt in it. Specially in PINK because I made it for my daughter who is a reluctant writer and simply loves anything pink.
How to make color salt
The first thing you will need to do i make some color salt. Here you need:
- table salt
- plastic zip bag
- gel coloring (I’ve used this gel coloring)
Measure out 2 cup of salt in your plastic zip bag. Then add a squeeze of coloring. I estimate i had about 10 drops of color in there. 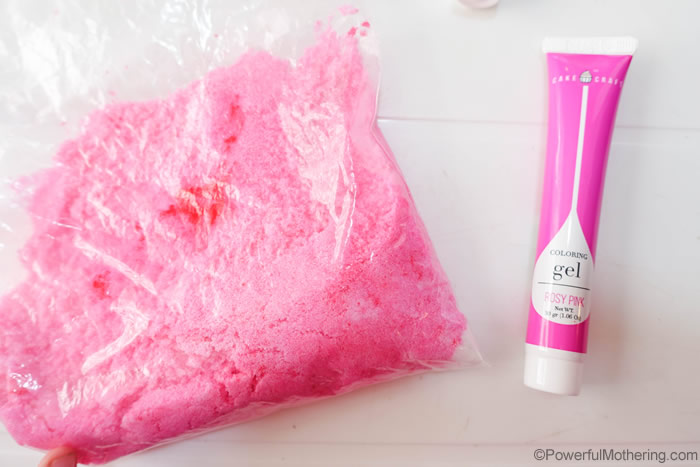
Next squeeze all the air out of of the zip and seal it. Now rub it between your hands like you were hand washing some delicate clothing.
Below you can see the most common of issues I get mailed in about. This is the salt with the coloring. It has large chunks of coloring and speckles in it. This is simply not mixed enough yet! Keep kneading and rubbing it.
TIP: Depending on your humidity / amount of coloring used you might have to spread your salt out on some wax paper to dry overnight. 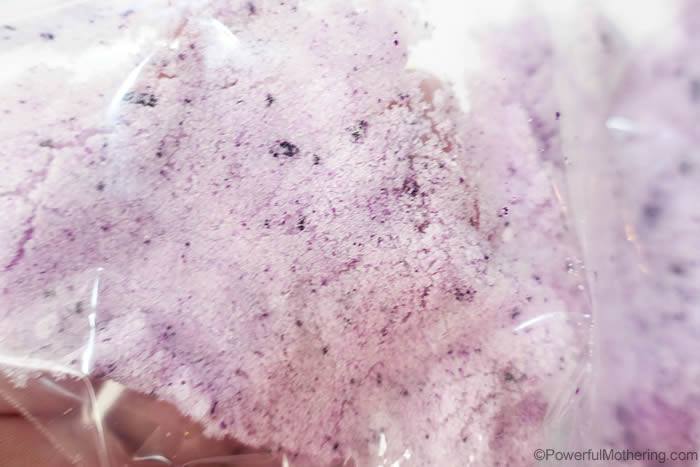
This is the exact same salt as above well rubbed and kneaded. This salt is ready for use.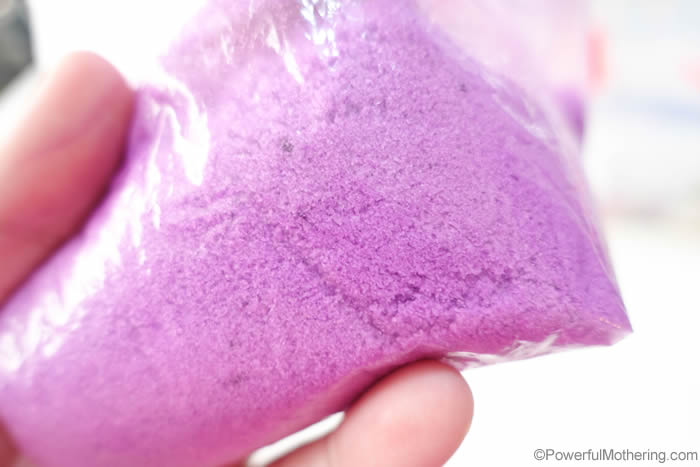
Back to our box for our writing tray!
You will need some sort of box or plastic container with a lid to hold your sand for writing. Look for something in a rectangular shape with lowish sides.
Below I have recycled an old puzzle box by removing the dividers.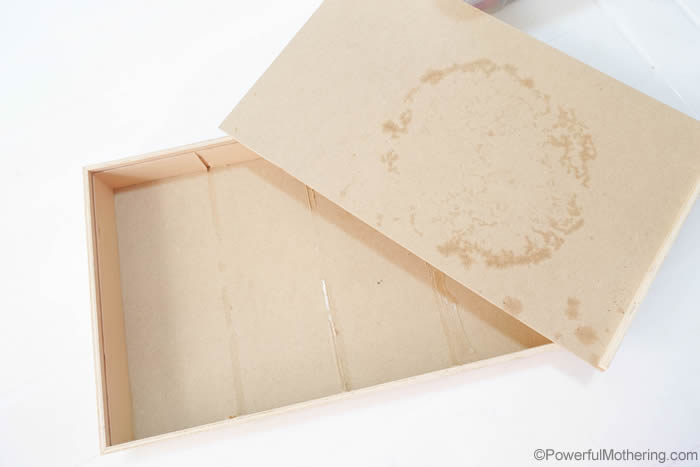
I then painted the box black so it would give a good contrast to the salt that I had already made. If you are going for a clear container you might need to add a sheet of color paper below the salt to give that contrast when the child is writing.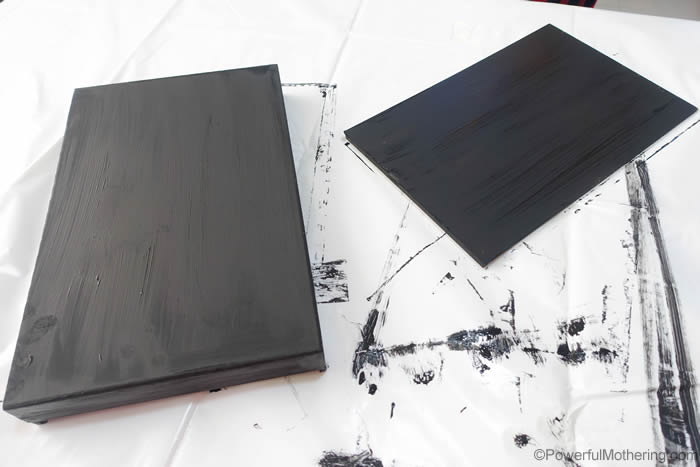
Once your paint is dry tip out the salt into the new salt writing tray!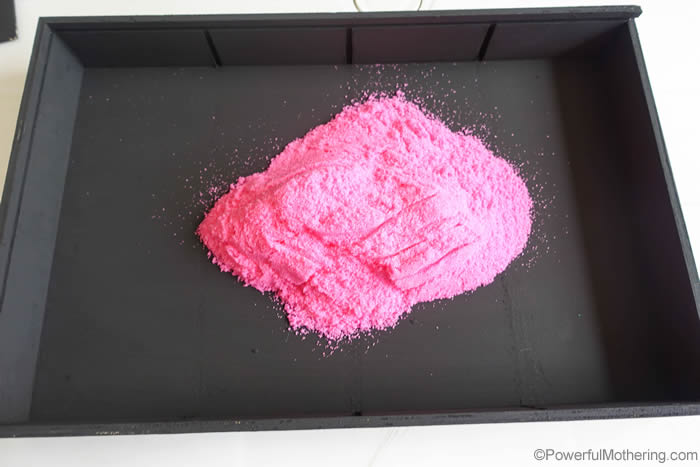
Isn’t this pink just so vibrant! I could use this stuff in a sensory bin and play with it myself 😀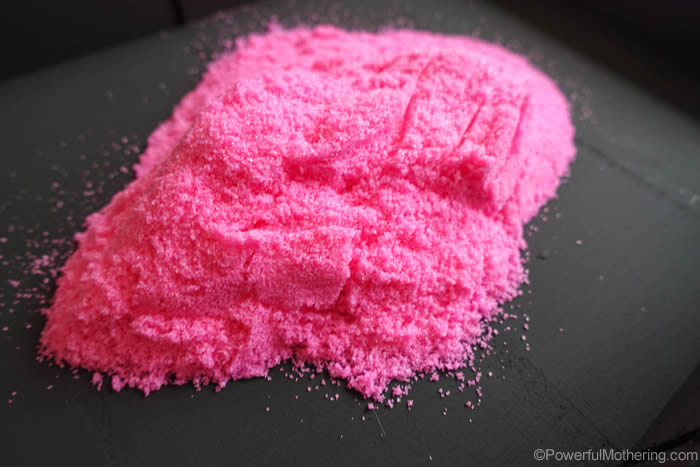
Now Spread your salt out all over the tray. It should generously cover the bottom.
Grab a pencil and use the eraser end to try it out.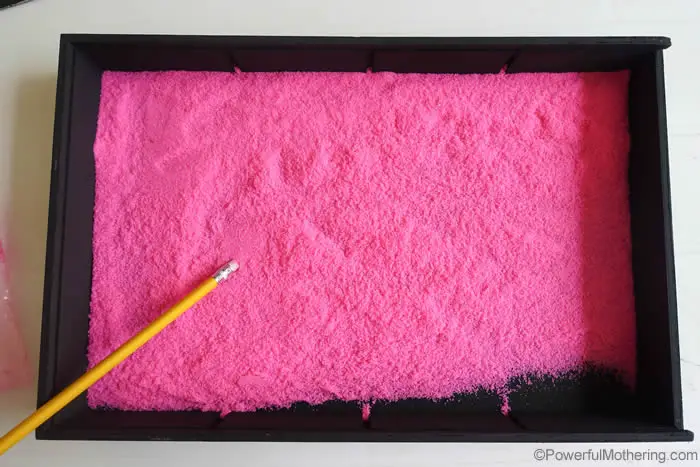
Unfortunately I didn’t have any unsharped pencils for this tray (need to get some!) so please do use an unsharpened one. We definitely don’t want your little one poking their eyes out.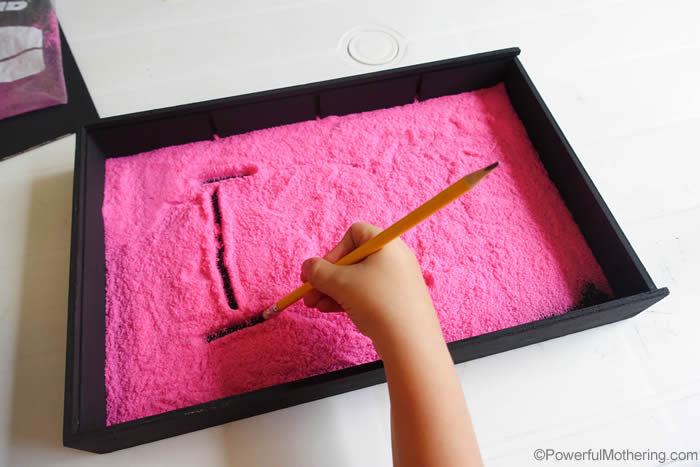
Once the writing is complete simply shake the tray to redistribute the salt and close the lid for storage and next use.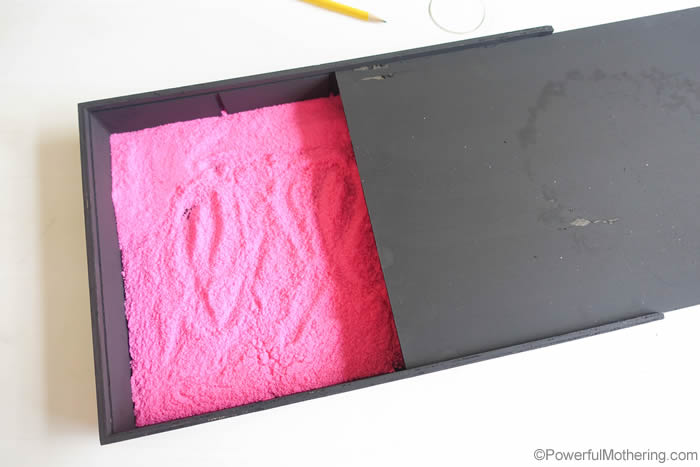



Leave a Reply