This post may contain affiliate links. If you use these links to buy something we earn a commission at no extra cost to you. Powerful Mothering is supported by its audience, thankyou!
Make your own spring flowers with a handful of q-tips and a little craft paint.
This spring flower craft is fun to create and kids will love moving around the q-tips to create the perfect design.
Take a look below at how to make these easy q-tip spring flowers for kids, and then get started on creating a garden of your own!
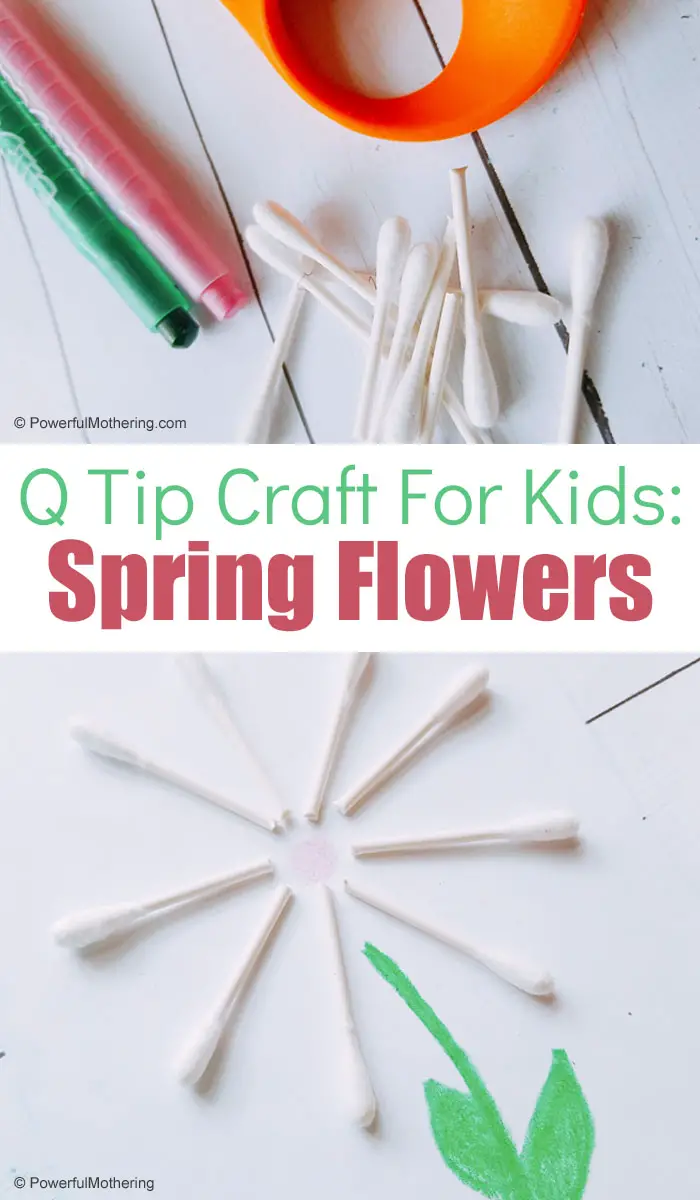
Q-Tip Spring Flowers Craft For Kids
q tips
craft paper
craft paint or markers
scissors
craft glue
Sponge painting is a great process art activity!
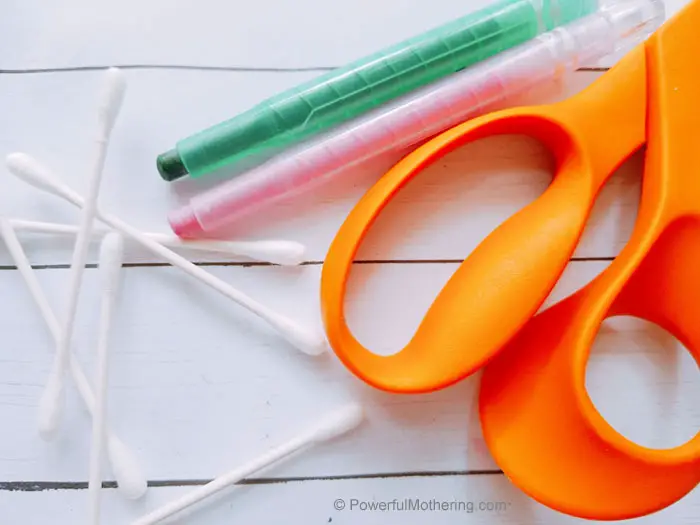
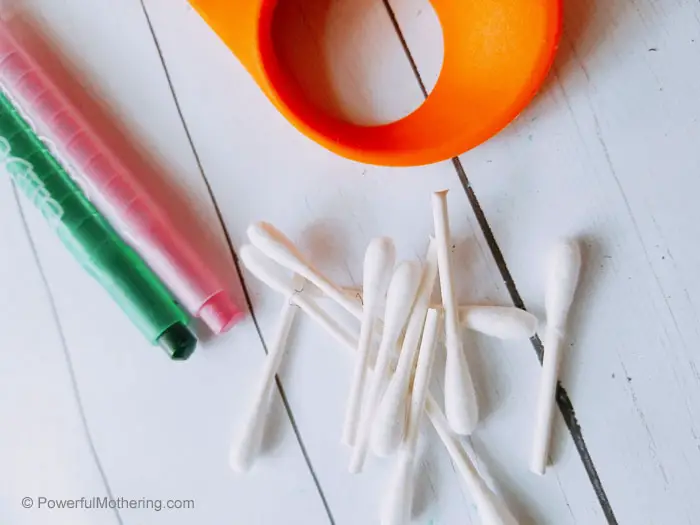
Begin by cutting the q-tips in half. It is easier to use them if they are smaller and single sided.
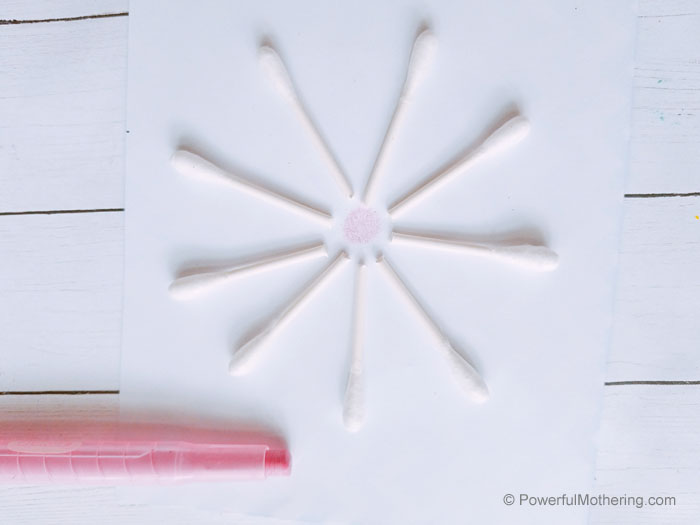
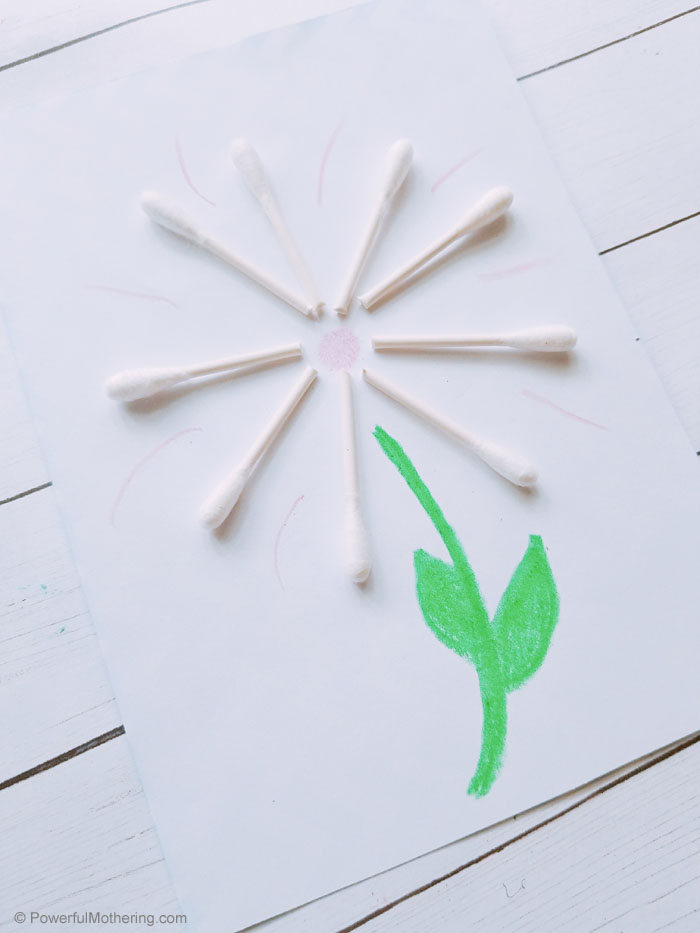
Now, create the stem of your flower. Use green craft paint or markers to draw a stem and center of your flower. A simple circle will do for the center.
Add some glue to the back of the q-tips for this spring flower craft. Place them around the center of your flower. Hold in place until dry and secure. The idea is for the q-tips to look like petals.
When the q-tips dry, you can add any other details you want like leaves or bugs.
These spring crafts are perfect for toddlers!
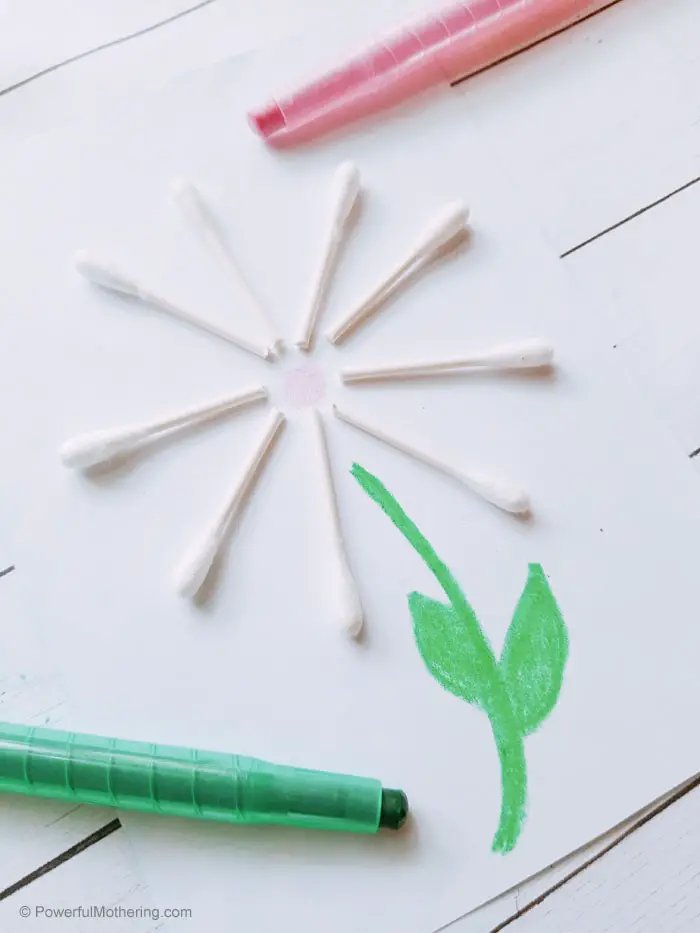
Your easy q-tip spring flowers are now ready to be displayed!
Did you ever think q-tips could be so cute? Consider making this q-tip spring flowers with your kiddos and see how much fun they have!



Leave a Reply