


This post may contain affiliate links. If you use these links to buy something we earn a commission at no extra cost to you. Powerful Mothering is supported by its audience, thankyou!
Ribbons are colorful and have great texture, when folded over, combined with some soft and colorful material look great!
When my boys were little muffins I made them these little square ribbon edged blanket tag-lets. Today my mission is to make my newest addition (who will be 6 months old next week) one of her very own! I recall pinning something in Pinterest awhile back and went searching.
Turns out I had re-pinned it from someone, them from someone else, and all it was was a picture linking back to Google search. I searched and couldn’t find it! DIY coming right up! You can check the original inspiration out in the photo gallery.
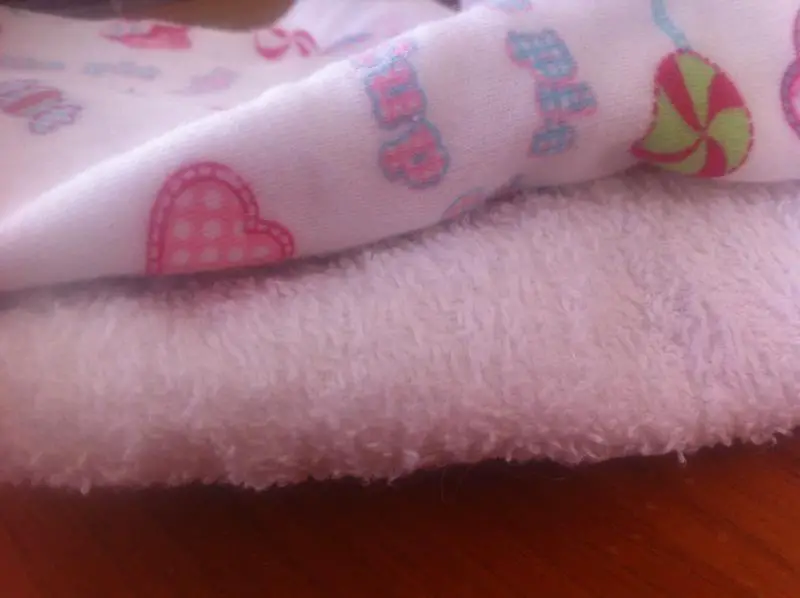
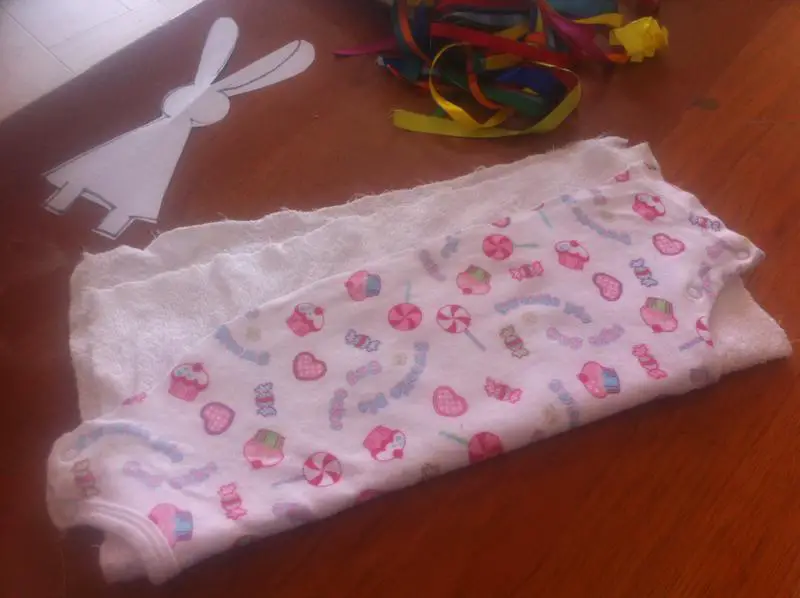
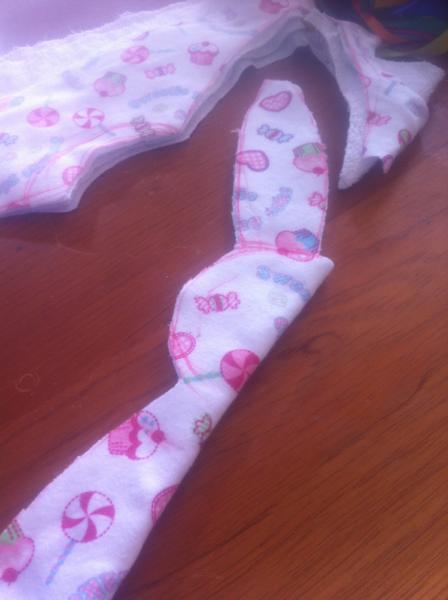
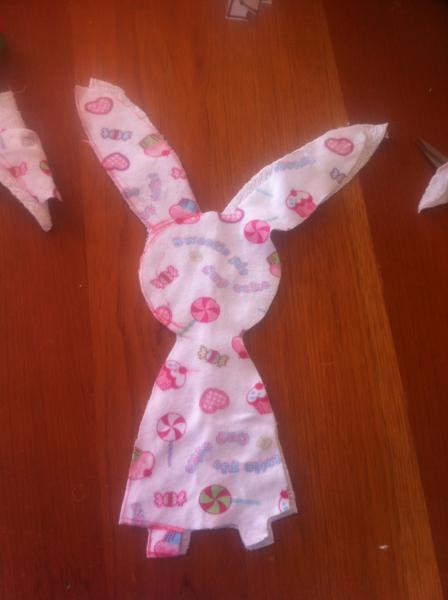
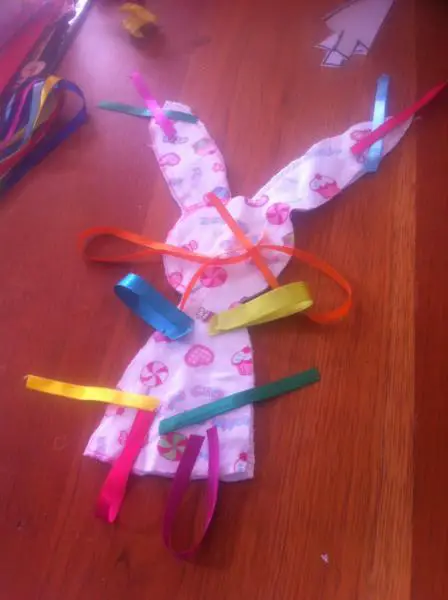
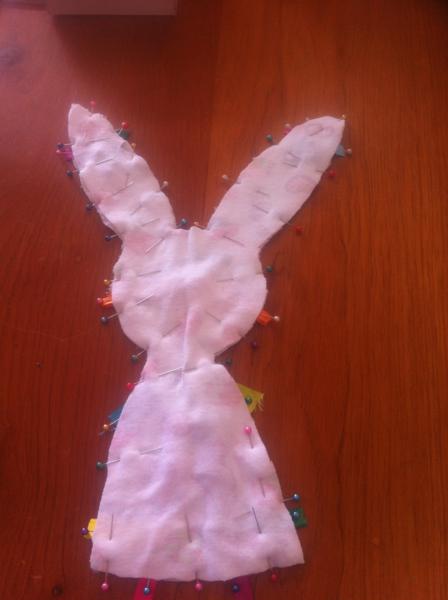
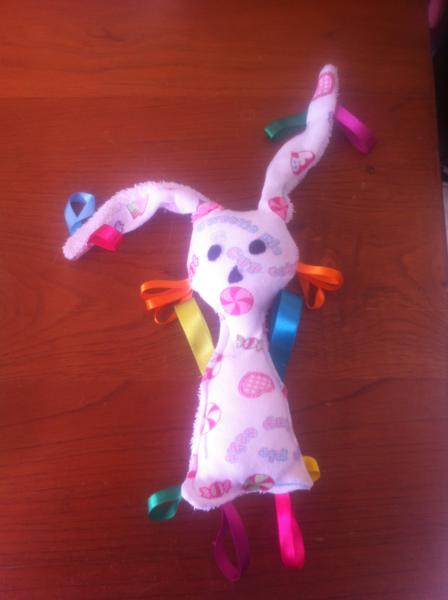
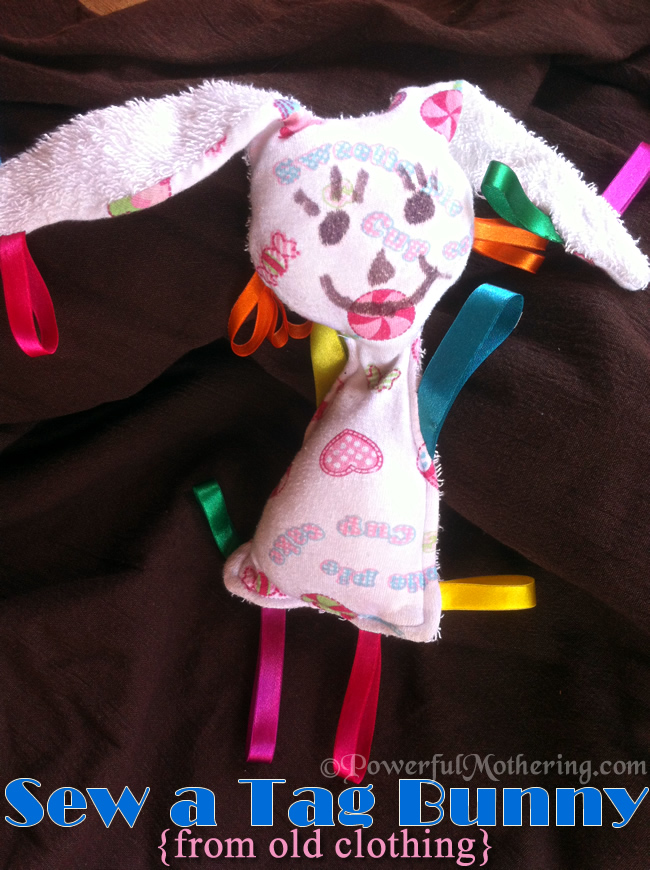
I started off by picking some fabric. My choices were an old jumper and some terry cloth. After all she is going to be chewing on it. I then folded the material in half and sketched out half of the bunny, changing my mind as I went, as to how big the head should be! Once cut and laid out, it definitely was a bunny!
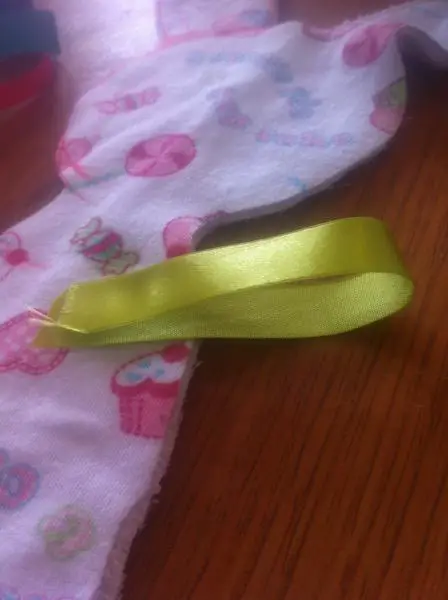
Next i chose some ribbons about 8 inch long folded them in half and planed my color co-ordination.
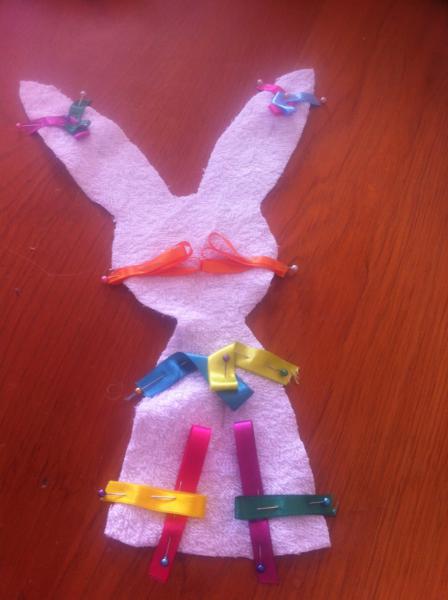
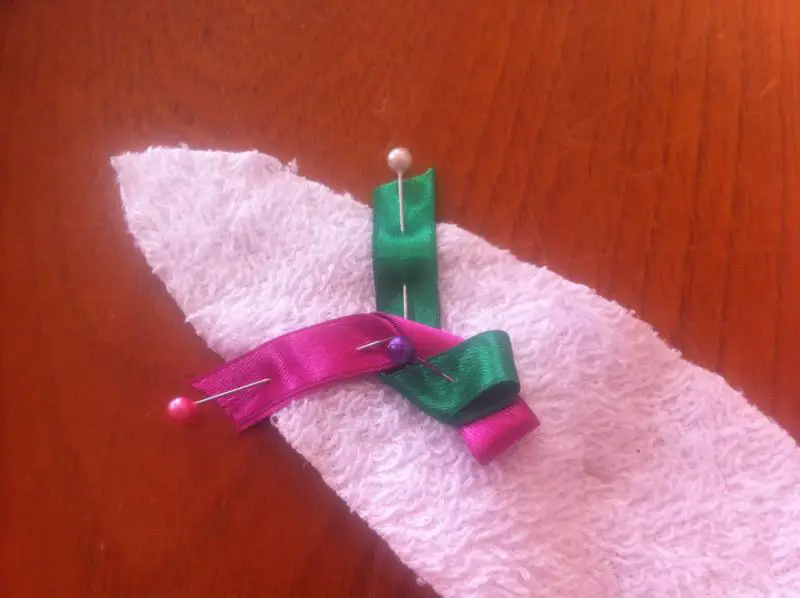
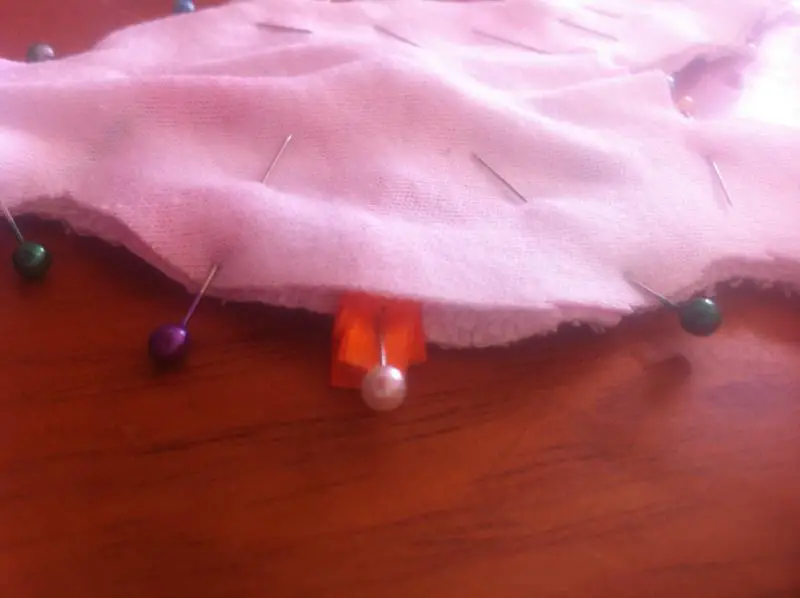
Pin the ribbons to the right side of the fabric facing inwards, also keep an eye on where your ribbons are in relation to the edging. Take a look in the image gallery at what I did to fix my ribbon near the edge problem. I used ribbon instead of feet (which I originally cut out but decided against), as arms, whiskers and ear tufts.
Lay over the other cut out bunny fabric so both right sides are facing inwards, with the ribbons inside. Be sure to leave a little gap open to pull the bunny right side when sewing!
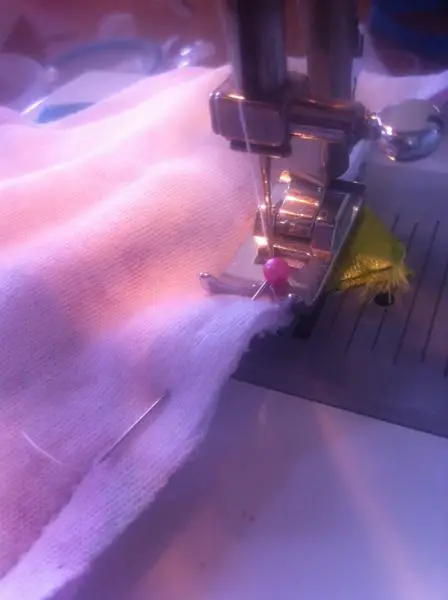
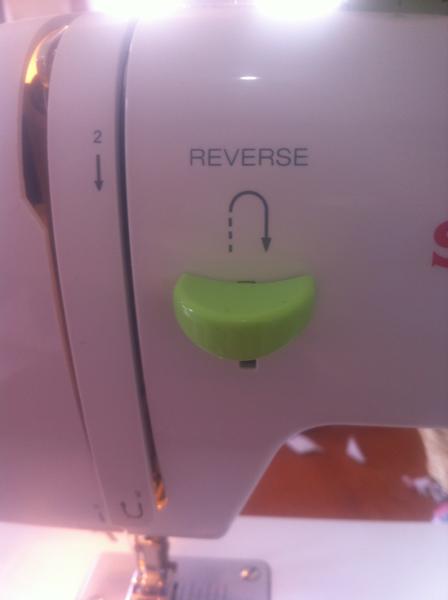
 Sew your bunny! I like to use the “reverse” on my machine to secure the ribbons extra tight against tugging. Pull right side threw the hole you left and use a pen to poke all the corners out. Watch out for those extra pins!
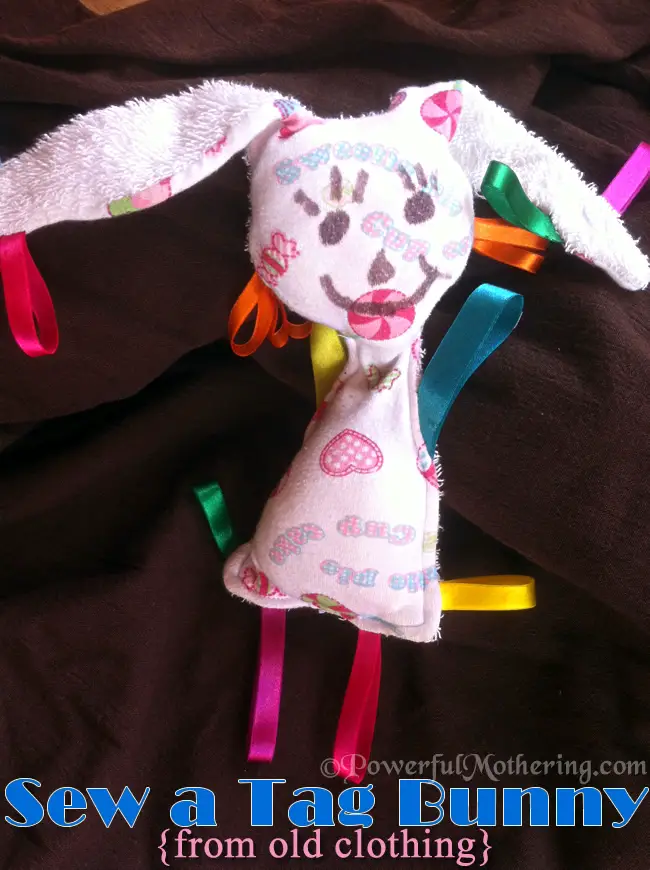
At this point you can either add a bit of stuffing to make the bunny firmer or leave it without for the tag-let feel. Mine got some stuffing and a face! You can use felt or little teddy eyes, but my permanent marker did the trick. For sewing the hole shut, either whip-stitch it (check youtube) or sew the bottom like I did.
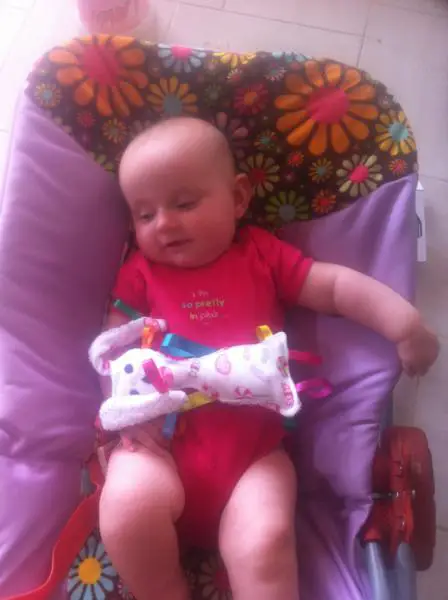
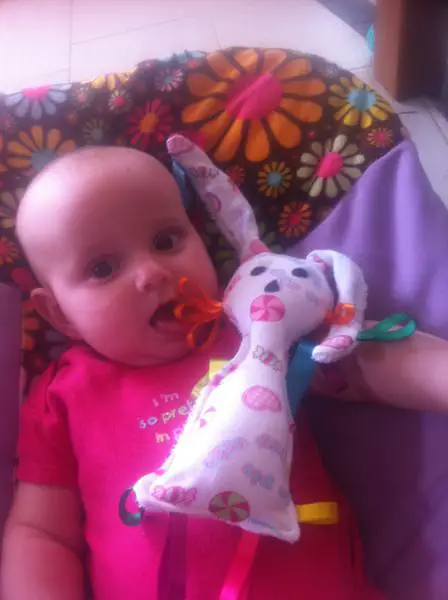
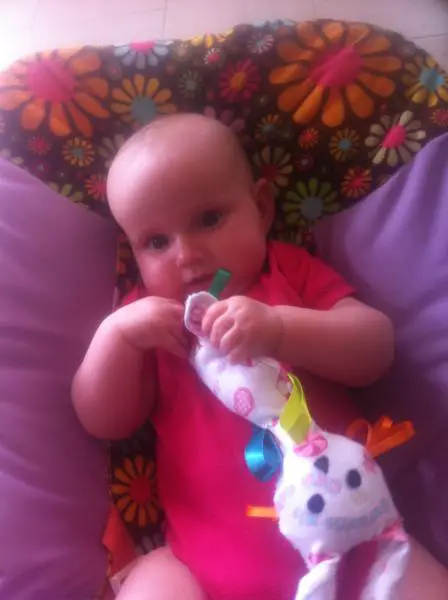
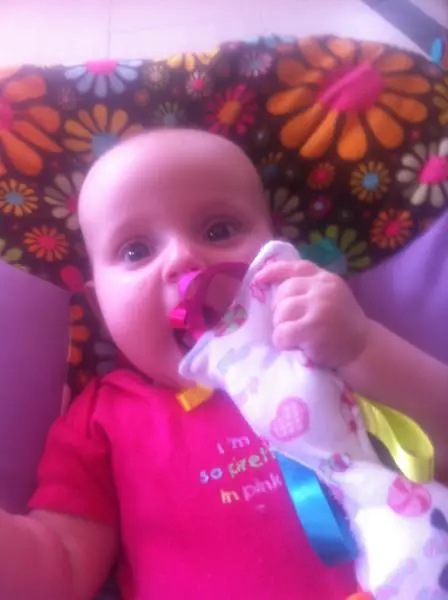
Give bunny tag to baby! Mine really enjoyed the ribbons! AND there was plenty chewing and drool involved too! Check out our Photo Gallery just below for all my pictures on the Stuffed Bunny Tag.
Have you made or bought a tag-let? I would love to hear how your little one loved or hated it, or your adventure in making it if you did!


Emma @ P is for Preschooler says
What a great idea! My daughter used to love playing with the tag on her blanket – she would have loved this!